Resources
Browse Our Resources
Tags: Inground Pools, Parts & Upgrades, Renovations, Pool Service
Penguin Pools New Vinyl Liner Install

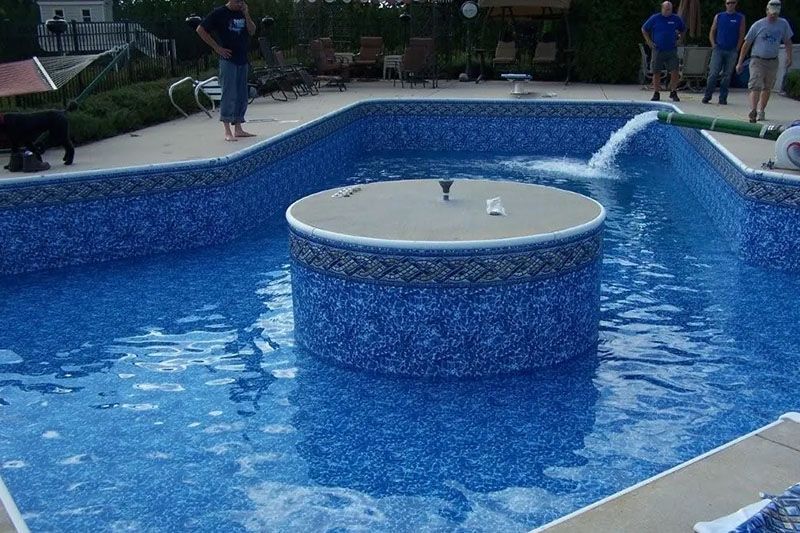
Here is a new vinyl liner install. This pool is 20′ x 50′ so we needed to use 3 vacuums to get the suction we needed on the vinyl liner, even though all the wall seams are sealed up. Penguin Pools uses a water delivery service to fill our pools so it goes much quicker and allows for less problems with wrinkles.
A good pool contractor also changes out all the gaskets and faceplates as needed during inground vinyl liner replacements.
Basic Timeline of Penguin Pools Vinyl Liner Install
- Place liner in deep end and open it to the shallow end of pool
- Tuck bead into coping at couple of places around pool
- Start at the step to make sure it is aligned perfectly, if the step is lined up correctly the rest will fall into place
- Start working around the pool tucking the bead into the coping, making sure all the corners are aligned correctly
- Once you see that the vinyl liner is where it is supposed to be, place your vacs behind the liner to start sucking the air out. Cap all plumbing/lights/conduit that isn’t run yet so you are just pulling air from behind the liner
- Install your gaskets and trim pieces around your step
- Cut in your main drains installing all gaskets and faceplates
- Start filling your pool with water
- When the water gets to 1″ above the shallow end, cut in your lights and returns
- Run pool lights before water gets to high
- Cut in your skimmers
- Pull vacs
- Finish filling your pool with water
- Vinyl Liner Install is done.